

🚀 Supercharge your Excel exports in Laravel!

Recently we released Laravel Excel 3.0, which was a big paradigm shift from 2.1 . Our intensions were to drastically simplify the export clutters in your controller. We completely rebuilt the package from scratch. And we believe it’s awesome!
Let’s go through creating a users export step-by-step together! This guide is targeted towards Laravel Excel 3.0 beginners. It hopefully gets you more acquainted with the way of setting up easy exports in your Laravel projects.
💪 Getting Laravel ready
In case you will be doing this in an existing project, you can skip this chapter.
Installing Laravel
Let’s start of by creating a new Laravel project. The easiest way of doing this is by using the Laravel installer.
laravel new export-project
If you don’t have the Laravel installer yet, or prefer a different way of installing Laravel, please refer to the documentation: https://laravel.com/docs/5.6/installation
This should have created a new Laravel project in the export-project folder.
Next you should adjust the .env to have your database credentials.
DB_CONNECTION=mysql
DB_HOST=127.0.0.1
DB_PORT=3306
DB_DATABASE={your_database}
DB_USERNAME={your_db_password}
DB_PASSWORD={your_db_password}
If you are unfamiliar with any of these things, don’t hesitate to check the Laravel documentation (https://laravel.com/docs/).
Eloquent and the database
As we are going to create a users export, we have to make sure we have a Users model in our project. If you have just installed Laravel, this should be present in the project. There also should already be a users migration in database/migrations. Let’s use the default database columns to get started with this.
php artisan migrate
Seeding some test users
To have some data for our export, we can seed some test data to our database. Laravel has seeders and model factories for this. Our fresh install should already have a UserFactory in database/factories. Let’s call that factory in our DatabaseSeeder class (database/seeds)
use App\User;
use Illuminate\Database\Seeder;

class DatabaseSeeder extends Seeder
{
    public function run()
    {
        factory(User::class, 100)->create([]);
    }
}
This should create 100 random users in our database.
If you want to learn more about this, check the Laravel documentation: https://laravel.com/docs/5.6/seeding#using-model-factories
🚀 Supercharging your exports
Let’s start supercharging your exports!
Installing Laravel Excel
Installing Laravel Excel is very easy. Run the composer require command first.
composer require maatwebsite/excel
When composer is ready, both the ServiceProvider and facade should have been auto-discovered, which means you won’t have to do anything else to install Laravel Excel!
Creating our first Export class
To create an Export class you can either manually create a class or just use the provided artisan command!
php artisan make:export UsersExport --model=User
This should have created the following class in the app/Exports folder.
namespace App\Exports;

use App\User;
use Maatwebsite\Excel\Concerns\FromCollection;

class UsersExport implements FromCollection
{
    public function collection()
    {
        return User::all();
    }
}
You might notice the FromCollection concern. This interface tells Laravel Excel that we are going to create an Excel file from a collection. The interface enforces a collection() method. In this method a Illuminate\Support\Collectionneeds to be returned.
Hooking it up to a Controller
The next step would be to hook up the UsersExport class to a controller, so it can be called by the user. Let’s create a controller first.
php artisan make:controller UsersController
In this controller add a export() method and call the download function on the UsersExport class.
namespace App\Http\Controllers;

use App\Exports\UsersExport;
use Maatwebsite\Excel\Facades\Excel;
use Symfony\Component\HttpFoundation\BinaryFileResponse;

class UsersController extends Controller
{
    /**
     * @return BinaryFileResponse
     */
    public function export()
    {
        return Excel::download(new UsersExport(), 'users.xlsx');
    }
}
In this method we use the download method on the Excel facade. This will make sure the file will be downloaded to the user. The first parameter supplies the export class we have just created and the second parameter the filename that we want the downloaded file to have.
In orde to make the controller method callable we need to add a route. Let’s add a simple route for this in routes/web.php
Route::get('users/export', 'UsersController@export');
If you now open the https://export-project.test/users/export url, you’ll find a nice users.xlsx file in your downloads folder!
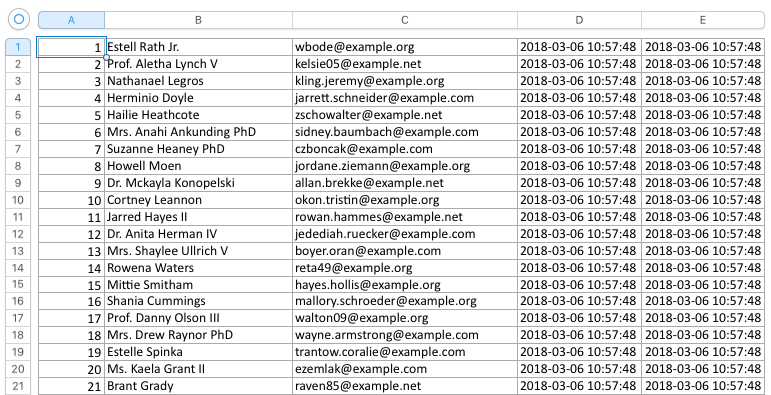
users.xlsx
As you might notice there’s no password column in the file. This is because Laravel Excel only uses visible attributes by default when exporting your models!
Adding a heading row
The export doesn’t contain a heading row right now, but we can easily add that. Let’s use the WithHeadings concern for this!
namespace App\Exports;

use App\User;
use Maatwebsite\Excel\Concerns\FromCollection;
use Maatwebsite\Excel\Concerns\WithHeadings;

class UsersExport implements FromCollection, WithHeadings
{
    /**
    * @return \Illuminate\Support\Collection
    */
    public function collection()
    {
        return User::all();
    }

    /**
     * @return array
     */
    public function headings(): array
    {
        return [
            '#',
            'Name',
            'Email',
            'Created At',
            'Updated At',
        ];
    }
}
When you export the file now, you’ll see a nice heading row!
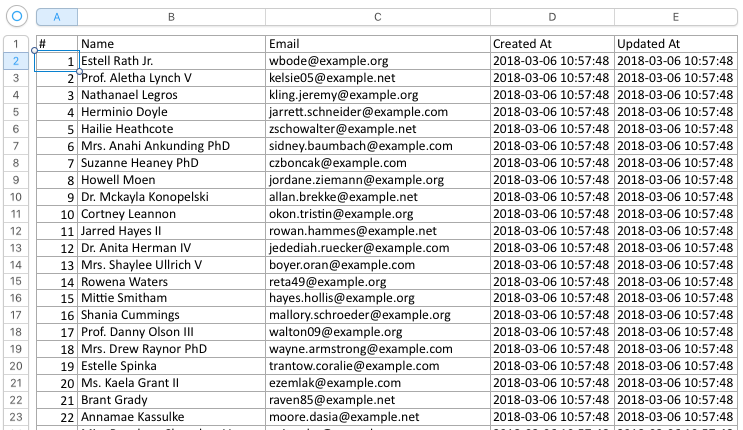
users.xlsx with headings
More information about WithHeadings can be found in the documentation: https://laravel-excel.maatwebsite.nl/3.0/exports/mapping.html#adding-a-heading-row
🔥 More supercharging
I hope this was enough to get you quick started with supercharging your Excel exports! You’ll find a lot more cool features in our documentation: https://laravel-excel.maatwebsite.nl/
Originally posted at: https://medium.com/maatwebsite/supercharge-your-excel-exports-in-laravel-eb9f74395995

I work at Maatwebsite on weekdays and I am a passionate filmmaker in my free time. Find me on Twitter & Github.